*What you will need*
PaintShopPro (any version should work)
PTU Kit "An Elegant Christmas" By Stina
Font I used : AKA Dora
WSL_Mask167 by Weescotslass
**This tutorial assumes that you have working knowledge of Paint Shop Pro.**
**This tutorial was written by Aimee Pryor on August 31, 2010. Any similarity between
this tutorial and another is nothing but coincidence. You may link back to my tutorials, but do
not copy them and put them on your own group or site of any kind. If you'd like to share your creation, you may email them to me at tnt-aimee@live.com and I will share them here :o) Thanks!**
Ready?!
Let's start by opening a new 700 x 700 pixel image.
(I know it's large, we'll resize later)
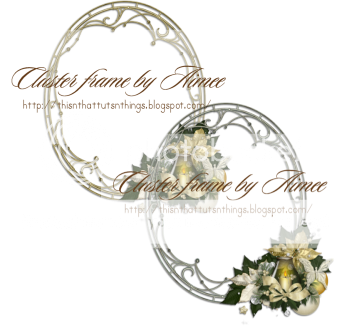
Open one of the oval cluster frames from my download -
Copy and paste as new layer. No need to resize, since
our canvas is so big.
Ok... I know the outer edge of the frame is tiny... hard
to get it all selected. So. Here's a way to do just that.
Make the bottom (empty) layer active - Go to your preshapes
tool. Click on the little drop down arrow - Choose Ellipse.
Draw out your ellipse to match up with the frame. It's easier
with the vector shapes, because you can always move the nodes
around to match up. Look at my image below if I've confused you.
Once satisfied with your ellipse - Convert to raster layer.
Now - Select all - Float - Defloat - Choose a paper from the kit,
Resize 80% - Copy and paste as new layer. Selections - Invert - Delete.
KEEP SELECTED and delete the bottom layer (the vector shape we
created). Make sure your paper layer is active - Choose an image
for the background - I chose the following elements for mine:
Tree - 80% - Hit delete to rid of excess outside of frame.
Star - 35% - Placed at top of tree - hit delete
Ornaments - 15% (as many or as little as you'd like)
I selected one of the gold diamonds from the splatter - copied
and pasted it in various spots on the tree... merely a choice.
Select none. Add a drop shadow (to each of the layers)
of 0, 0, 80, 6 - Black. X out the bottom layer and merge visible.
Open the tube from the kit, resize 75% - Mirror - Copy and paste
as new layer - Move her to the left side of the tag.
Add a drop shadow of 2, -2, 60, 10 - black.
Make the background layer active - Create a new vector - Ellipse -
Draw out an ellipse just a shade bigger than the frame image.
Once satisified, Using a script font of your choice -
write out "Merry". X out the ellipse layer - Right click on vector
and create as raster layer. Do the same for "Christmas".
Merge the two words together after placing them to your liking.
Effects - DSB Flux - bright noise - Intensity at 30 and mix checked.
Repeat one time. Select all - Float - Defloat - Modify by 2 - Add
a new layer and fill with a dark green from the leaves on the cluster
frame. Select none. Move the dark green letters below the golden
ones. Merge down - Drop shadow. Make sure your "Merry Christmas"
layer is above the frame layer. Merge visible.
Resize entire image to 500 x 500 Pixels (all layers checked)
Now resize the canvas to 600 x 600 pixels.
Copy your merged image and paste as new layer.
This will make sure the image is centered.
Ok..now for the background and masking!
Make the bottom layer active - If it's still X'd out,
un X it - select all - Choose a paper from the kit - Copy
and paste INTO selection. Select none.
Layers - New Mask Layer - From Image - Choose
WSL_Mask167. Apply and merge group.
Move the mask slightly down and to the right.
Apply the same DSB flux as before (repeat one time)
Open DBS_ - Resize 60% - Copy and paste as new
layer. Move to the bottom left side of the tag (above
mask layer) Duplicate - Mirror - Flip. Merge down.
Apply Drop shadow. Merge visible. Crop opaque.
Resize to your liking - Add your name and all copyright
info. Save as .png for a transparent background and .jpg for a white
background.
Thanks for stopping by to partake in my tut! :o)
**I made these cluster frames using the kit.**
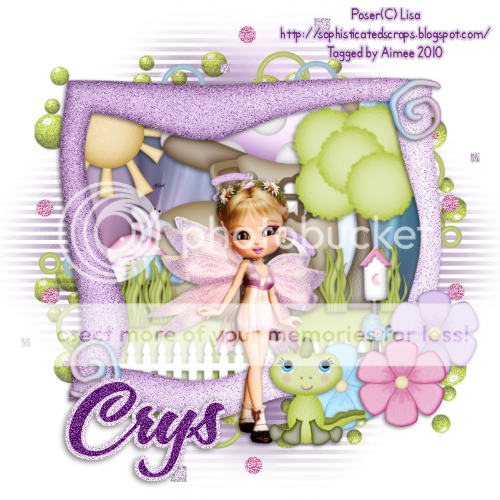
**I also made Stina this "showoff" tag... showing more of the elements
within the kit**
