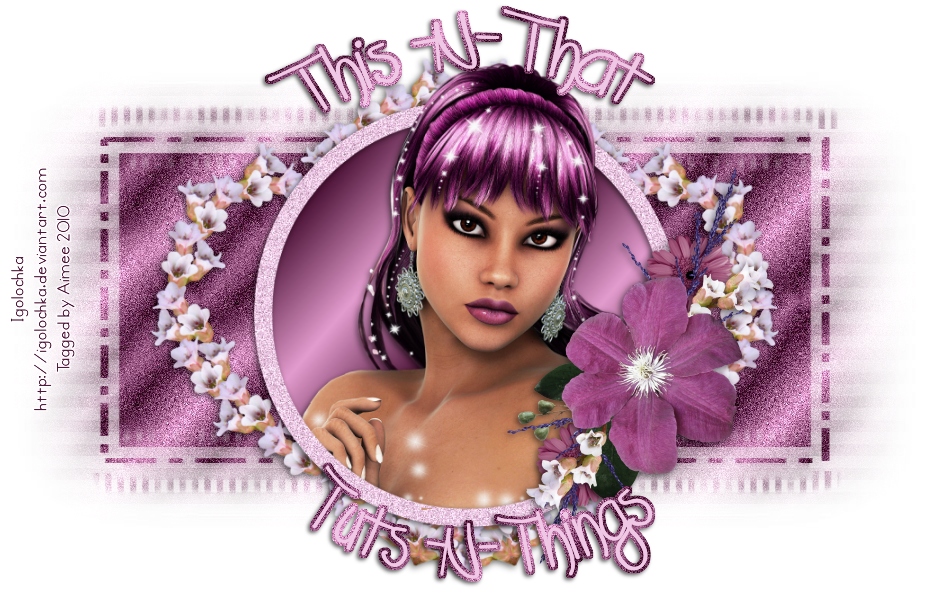
**What you will need**
Paint Shop Pro (any version should work)
FTU Kit "FantasyLand" By Muriel @ Creative Disorder
Font: Satisfaction
Tube (C) Medi
DSB Flux - Bright Noise
Alrighty! Let's start by opening supplies and putting them
into PSP so they're there when we need them!
Download and open my cluster frame and wordart, minimize the
wordart for the moment. Also be sure to install DSB Flux, if you
don't already have it. Also install the font.
Ready? Here goes nothing!
Open a new 600 X 600 image. Copy cluster frame
and paste as a new layer. Using your selection tool, set to
circle, draw out a circle just a little bigger than the center
opening. Choose a paper from the kit and resize 50%-
Copy and paste as new layer, selections - invert - delete -
moving the paper layer below
the frame. Keep selected!!
Open the unicorn images from the kit, Resize each
one at 50% - Copy each and paste as new layer.
Arrange to your liking, or look at my tag for placement.
Hit delete just to be sure there's no part of the unicorns going
beyond the frame. Apply a drop shadow of 2, -2, 60, 8 - Black
to each of the unicorns also to the frame layer.
X out the bottom layer and merge visible. Resize just
the merged layer to 500 X 500 pixels. Choose a tube from
the kit, resize 80% - Copy and paste as new layer.
You can place it wherever you'd like, however, I put mine on the
left side of the tag. Apply the same drop shadow as before.
Open FL_CD_FairyDust1 - Resize 30% - Copy
and paste as new layer - Arrange above the flowers on the
cluster frame. Make the bottom layer ( the X'd layer ) active
Now let's go to the kit and grab Fl_cd_Floralbush. Resize
by 70% - Copy and paste as new layer. It should be right below the
main tag image. Move it towards the top, Duplicate - Mirror - Flip.
Now let's move the two of these bushes together (make
sure there's no space between the two of them. Merge down.
Adjust blur - Gaussian - 10.
Now, just to be sure on room... let's change the canvas size
to 700 X 700 pixels. Alrighty... Now let's go to Effects -
Texture Effects - Mosaic Antique - with the settings below:
Now Effects - Plugins - DSB Flux - Set the Intensity to 25
and make sure "mix" is checked. Apply and repeat
one more time. Lower the opacity of this layer to about 80%.
Resize to your liking. Add your name and all copyright info.
If using my wordart, resize 55% then copy and paste.
You're done!!
Thanks for giving my tut a try, hope you succeeded and made
an awesome tag!!!


AM VISUALLY IMPAIRED SO AM USING CAPS. PRINT IS A BIT SMALL BUT I CAN ZOOM IN WITH FIREFOX. HOWEVER THERE IS ONE PROBLEM. I LOVE THE FAIRY YOU HYAVE HERE BUT IT ISN'T ON THE PAGE YOU DIRECTED ME TO ANYMORE. A FAIRY IN GREEN IS THERE SO WILL HAVE TO USE ONE OF MY FAIRIES.
ReplyDeleteI HOPE WHEN I AM DONE WITH MINE IT TURNS OUT JUST AS BEAUTIFUL AS THIS ONE.
THANK YOU FOR SHARING THE TUT.
HUGS
ALICE