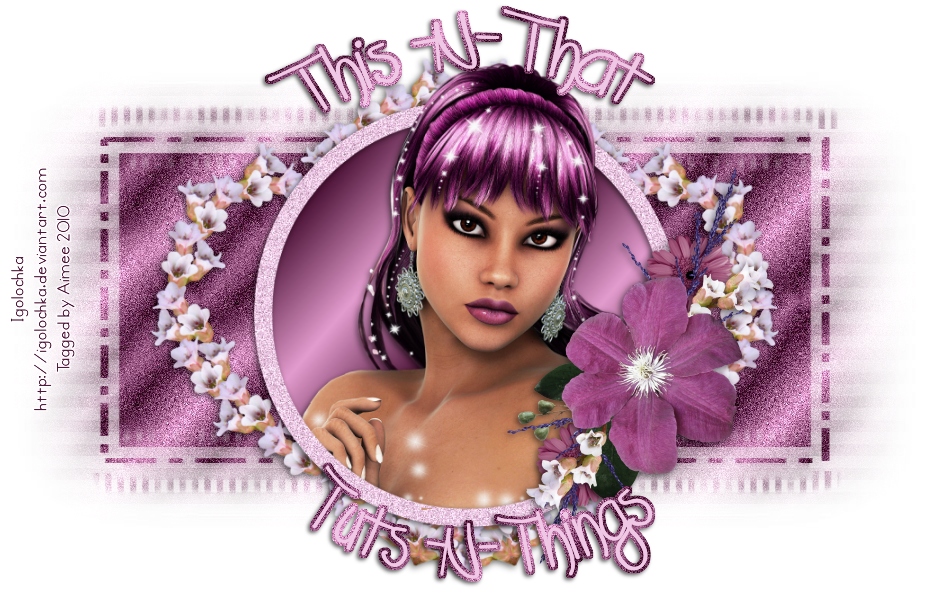
*What you will need*
PaintShopPro (any version should work)
PTU Kit "Strinarella" by Stina
Font of choice
Tubes © MediEvil Creations and are included in the kit.
(BE SURE to follow her TOU!)
Mask of choice
My wordart (or another of your choice)
No filters needed!! :o)
**This tutorial assumes that you have working knowledge of Paint Shop Pro.**
**This tutorial was written by Aimee Pryor on June 13, 2010. Any similarity between
this tutorial and another is nothing but coincidence. You may link back to my tutorials, but do
not copy them and put them on your own group or site of any kind. If you'd like to share your creation, you may email them to me at tnt-aimee@live.com and I will share them here :o) Thanks!**
Alrighty people you should already have the mask you've chosen to use open in your PSP... as well as installed the font of your choice.
With that being said....let's start this!!
Open a new 600 x 600 pixel image. Select all - Add a new layer - Choose
a paper from the kit, Copy and Paste INTO selection. Select none.
Layer - New Mask Layer - Choose your mask, Apply. Merge group. My mask was large, so I resized it 85%... you may need to do the same, depending on your mask. Play with the sizing a bit. I also duplicated and flipped my mask to make it even outside my image.
Now let's grab DBS_Frame10 - Resize by 70%
Copy and paste as new layer - Then Image - Rotate - Free rotate 90 degrees
to either direction. With your frame layer active - Take your magic wand and click inside the frame - Selections - Modify by 5. Choose another paper from the kit, resize 60% - Copy and paste as new layer. Move the paper layer below the frame layer (KEEP SELECTED!) We're going to add our tube now, while we've still got this area selected. Choose one of the tubes from the kit, I chose DBS_medi_ellablue2 - Resize her at 60% - Copy and paste as new layer. Selections - Invert - Delete. Select none. Apply a drop shadow
of 2, -2, 70, 10 to both the frame and tube layers.
Make your frame layer active - Paste your tube again - Align this tube layer with the bottom tube layer and erase all the parts of her that go beyond the frame at the bottom of the tag. Close out the bottom layer and merge visible to this point. I have a feeling you're doing great out there! :o)
Now let's add some awesome elements!!
Choose one of the lace bows from the kit... I chose DBS_Lacebow05 - Resize 60% Copy and paste as new layer. Arrange to the top left of the tag, kind of on the corner of the frame. Grab DBS_RoseCluster02 - Resize 45% - Copy and paste as new layer and arrange above the lace bow, on the corner of the frame. Apply drop shadow above to both of those element layers.
You can merge again now, if you'd like.
K... now let's grab DBS_MagicWand - Resize 60% - Copy and paste as new layer Mirror the image and arrange to the bottom right of the tag. Apply drop shadow. Now grab DBS_HorseCarriage01 - Resize 60% - Copy and paste as a new layer - Arrange to the bottom of your tag... Look at my tag if you need to. Apply the drop shadow. Just for added "oomph", I placed DBS_Sparkles02
On the background part of my tag and erased the outside bits.
Now resize your image 500 X 500 pixels (all layers checked).
Make your canvas size 600 x 600. This is just to ensure that our wordart
and name will have plenty room to be added!! :o)
Open my wordart - Resize 70% - Copy and paste as new layer and move to the top of the tag. Apply drop shadow. (If you chose to use another wordart, that's ok too) Now add your name - Give it the same drop shadow as
we've been using throughout the tut. Merge visible - Crop out the extra.
Resize to your liking.... Add ALL copyright info and save as .png for a transparent background and .jpg for a white background.
I hope you enjoyed this tut and it wasn't too confusing to you!!
Thanks :o)
Here are a couple extra tags I made using the same kit :o)


No comments:
Post a Comment
Hey there! Why don't you leave a little something before you go :o)