
*What you'll need*
PSP Any version should work
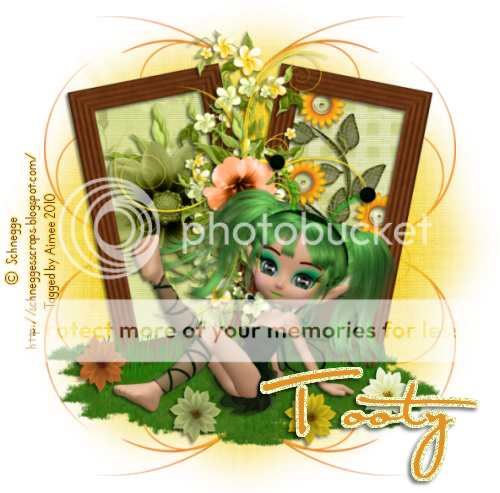
PTU Kit "Floral Surprise" by TootyPup
Font used - Satisfaction
Poser tube © Schnegge
Mask of choice
Lawn and Grass blade tubes that come with PSP.
If you don't have them, you can get them HERE.
PLUGIN: Jeux De Lignes Entrelacement
**This tutorial assumes that you have working knowledge of Paint Shop Pro.**
**This tutorial was written by Aimee Pryor on June 6, 2010. Any similarity between
this tutorial and another is nothing but coincidence. You may link back to my tutorials, but do
not copy them and put them on your own group or site of any kind. If you'd like to share your creation, you may email them to me at tnt-aimee@live.com and I will share them here :o) Thanks!**


Smudge the bottom parts of the grass blades to blend them in with the lawn.

Ready?!
Open whatever mask you want to use in your PSP and minimize it for use
later. Also install the font and whatever plugins before opening your PSP.
Alright... Let's start by opening a new 600 x 600 Pixel (Transparent) image.
Open a frame from the kit, I chose the brown one, resize 50% - Copy
and paste as a new layer. Resize again by 80%. Image - Rotate - Free rotate - Right 90. Using your deform tool, give it a slight angle to the left.
Duplicate - Mirror. Now you should have two frames.
Ok...now open one of the vines from the kit, I chose tp-flower vine3
Resize 45% - Copy and paste as a new layer. Move to the center
of the two frames, look at my tag if needed. Apply a drop shadow
of 3, -3, 50, 10 - Black. We'll be using that same shadow throughout
the tut, so keep it handy!! :o) Now open another vine, I chose tp-flower
vine5 - Resize 40% - Copy and paste as new layer - Mirror and arrange
to your liking above the other vine. Again, look at my tag if you need to.
Apply the same drop shadow as before.
In case you're wondering, we're making a cluster ;o)
Ok. Now... let's open one of the doodles. I chose tp-doodle3 -
Resize 40% - Copy and paste as new layer. Duplicate - Mirror -
Resize 40% - Copy and paste as new layer. Duplicate - Mirror -
Flip. Merge down. Place to your liking above the vine layers. Apply same
drop shadow as before. Lookin' good... lookin' good!
To finish off our cluster, we need to add a pretty flower... I chose tp-flower11
Resized 40% - Copy and paste right in the middle of the cluster.
Of course, you'll just have to eyeball it, no one's perfect!!
Apply the same drop shadow. Close out both the frames
and merge visible. Phew! Nice cluster ya' got there!!
Ok. On with the tag! Make one of the frame layers active - Using your magic wand, click inside one of the frames - Selections - modify by 3.
Choose a paper from the kit, I chose tp-paper11 (and tp-paper6)
Resize the paper at 60% - Copy and paste as new layer - Move it below
Resize the paper at 60% - Copy and paste as new layer - Move it below
the frame layer - Selections - Invert - Delete. Select none.
Apply Entrelacement with the settings below:
Apply. Do the same for the other frame layer.
Apply the drop shadow we used above to both frame layers.
For each of the frame backgrounds, this is merely a choice...
I added a floral element to each. If you'd like to do the same,
just make the paper layer active - Select all - Float - Defloat
Choose an element - Paste as new layer - Invert - Delete - Select none
and apply drop shadow. The elements I used for each were tp-flower14
and then tp-flowerpot6 - Both resized 50%.
Now let's add one of those cute little tubes!! Make the cluster layer active...
I chose to use tp-poser2, Resize her at 50% - Copy and paste towards the bottom center of the tag. Apply same drop shadow. Alrighty... add a new layer,
and name it lawn. Move that layer below the frame and paper layers.
Using the lawn tube that comes with PSP, set to it's default, make some lawn
underneath the tube. You'll have to click a few times, to get what you like.
You can look at my image for ideas, if you need to. Add a new layer - name
it grass - Move this layer above the frame layers - Using the grass blade tube
that comes with PSP - With the default settings, except change the scale to 25.
Draw out some grass blades along the bottoms of the frames. Don't worry
if it looks "choppy"...we're going to fix that. Once you get the grass looking
if it looks "choppy"...we're going to fix that. Once you get the grass looking
the way you want to... Grab your smudge tool.
With the settings below:
Smudge the bottom parts of the grass blades to blend them in with the lawn.
It works really well and hides those 'choppy' edges. Once satisfied, resize the image 500 x 500 pixels (all layers checked). Then change the canvas size back to 600 x 600. That gives us room to work with our mask.
For the mask.... Make the bottom layer active (you should have a raster
layer at the bottom with nothing on it, if not.... add a new layer and move it down). Select all - Choose a paper from the kit, I chose tp-paper3, Copy
and Paste INTO selection. Select none. Layers - New Mask Layer - select the mask you're using - Apply. Merge group. Duplicate - Flip - Merge down.
Now you can resize the image again... this time to your liking.
Add your name and copyright info.
Save as .png for a transparent background and .jpg for a white background.
That's it! I hope you enjoyed this tut and that I didn't lose you in the process... lol.
Thanks!
No comments:
Post a Comment
Hey there! Why don't you leave a little something before you go :o)