**What you will need**
PTU Kit "Hard Candy" by Stina
Cookies by Creative Intentionz
Mura Meister - Copies
DSB Flux - Bright Noise
Font of choice
Ready?
Open a New image - 600 x 600 pixels.
Open DBS_Frame02 - Resize 70%
Move to the left side of the canvas.
Using magic wand - Select inside of frame
Modify - expand by 3
New layer - Flood fill with silver gradient of choice.
I have one listed as "grey" in my PSP... however... I don't
remember if it's a default of PSP or one I made.
Edit it a little if you like... I repeated mine 3 times and
used a 45 degree angle.
Selections - None.
Move the gradient layer below the frame layer.
Lower opacity to 80% Make frame layer active.
Open DBS_ciz_candy_2 (unless you want to use
another one) Resize 80% Copy and paste as new layer.
Move to the right of the frame. Duplicate and mirror.
Make gradient layer active - Select all - Float - defloat.
Selections - Invert - Make mirrored tube layer active
and hit delete. Move the tube under the frame layer.
Lower opacity to about 70%.
Apply a drop shadow of 2, -2, 70, 8 Black to the frame layer.
Add the same drop shadow to both tube layers.
Hide the full tube layer. Merge visible the Mirrored
tube, the gradient layer, and the frame layer.
Unhide the other tube layer.
Open DBS_LacedUpHeart01 - Resize 30%
Copy and paste as new layer.
Mura Meister Copies - With settings below.
Using magic wand - select inside hearts - selections
modify - expand by 3
Choose a paper from the kit - Resize by 60% - Copy
and paste as new layer - Selections - Invert - Delete.
Select none. Move paper layer below hearts layer -
Apply drop shadow used before to hearts layer.
Make top layer active.
Open DBS_Bow05 Resize 30% Copy and paste as new
layer. Move onto the frame at the stand. Look at my tag
for placement if needed. Grab some of the heart conversation
candies, you'll need 3. Resize each at 25% - Copy and paste
as new layer. Move them under the tube layer and arrange
to your liking. Look at my tag for placement if needed.
Apply same drop shadow as before to each candy heart.
Make the paper layer (inside the hearts) active -
Select all - Float - Defloat
Open one of the glitters from the kit, Resize 70%.
Copy and paste as new layer - Selections - Invert - Delete.
Select none. Just about done!!!
Merge all layers together, EXCEPT the glitter, hearts, and paper
layer. Hide the merged image. Now you should just be seeing
the hearts, paper, and glitter. Merge those layers visible.
Resize all layers to 500 x 500 Pixels.
Then go to image - canvas size - and change to 600 x 600.
Duplicate hearts layer. Make the bottom hearts layer active.
Duplicate hearts layer. Make the bottom hearts layer active.
Now adjust - Blur - Gaussian Blur - 25
Apply DSB Flux with the settings below
Repeat 3 more times.
Merge visible - Resize to your liking.
Add name and all copyright info.
Save tag as .jpg for a white background and .png
for a transparent background.
Thanks for giving my tut a try! I hope you enjoyed it
and I didn't confuse you too much!!
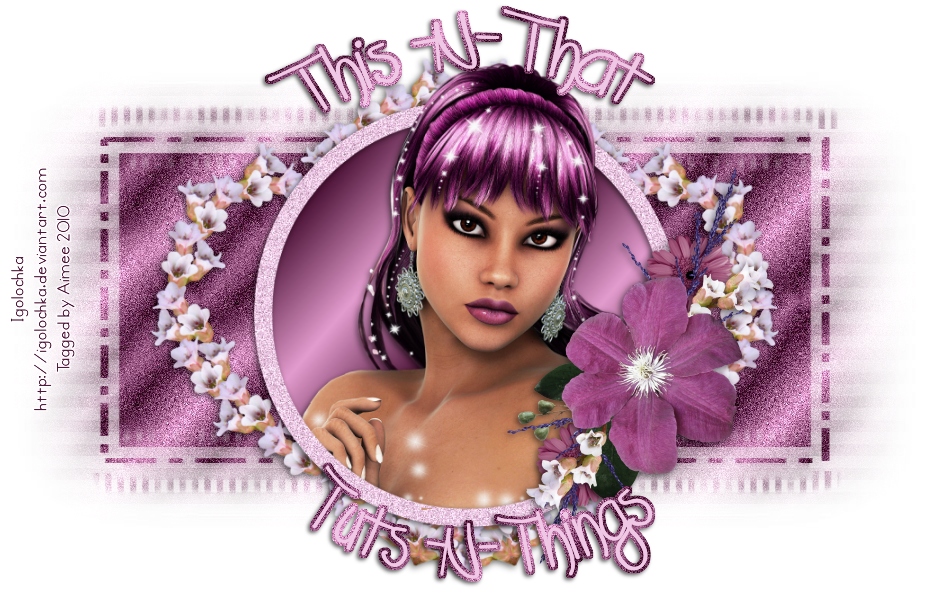
Here's another tag I made using the same kit.


No comments:
Post a Comment
Hey there! Why don't you leave a little something before you go :o)