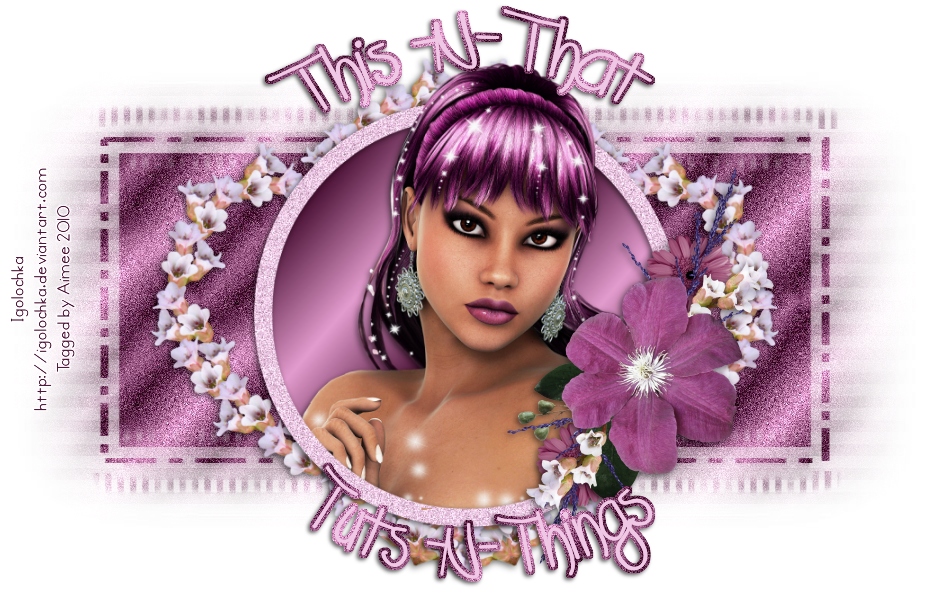
*What you will need*
PaintShopPro (any version should work)
PTU Kit "Heavens Praise" by Heartfelt Perfections
Font I used : Adorable
Poser tubes included in the kit
WSL_Mask189 by Weescotslass
**This tutorial assumes that you have working knowledge of Paint Shop Pro.**
**This tutorial was written by Aimee Pryor on September 3, 2010. Any similarity between
this tutorial and another is nothing but coincidence. You may link back to my tutorials, but do
not copy them and put them on your own group or site of any kind. If you'd like to share your creation, you may email them to me at tnt-aimee@live.com and I will share them here :o) Thanks!**
Let's start by opening a new 700 x 700 pixel image.
Copy and paste my cluster frame as a new layer.
Grab your selection tool - Set to rectangle - Draw
out a rectangle just a bit bigger than the inside part of the frame.
Choose a paper from the kit - Resized 70% - Copy and paste
as new layer. Selections - Invert - Delete. Move the paper layer
below the frame layer and KEEP SELECTED!
Now let's choose one of those LOVELY posers from the kit.
Resize her by 80% - Copy and paste as new layer
(just above paper layer) Duplicate and hide the duplicate
for now. On the bottom tube layer - hit delete.
It should erase all the parts of her that go beyond the frame.
Select none.
Now let's go to the other copy of the tube....
Move it all the way to the top of the image.
Using your eraser tool, erase the bits of her dress that
show... Most of the bottom of her dress will need
to be erased. This makes her look like she's coming right out
of the frame. Add a drop shadow of 2, -2, 60, 6 - Black
to the bottom tube layer. X out the bottom layer and merge
visible. Copy and then paste as a new layer... delete
the original. This step is to place the image into the center
of the tag. :o)
Open swirl from kit - Resize 50% - Copy and paste
as a new layer. Move the layer below the merged image and
to the upper right of the tag. Duplicate - Mirror - Merge
down. Duplicate again - Flip - Merge down. Resize 95%.
Un X the bottom raster layer and make it active.
Select all - Copy a paper from the kit and paste
INTO selection. Select none.
Now we're going to add our mask. Layers - New Mask Layer -
From Image - Choose WSL_Mask189.
Apply and then merge group.
Resize the mask 95% and move it down slightly.
Duplicate. Merge visible.
Open my wordart and resize 70% - Copy and paste
as new layer. Place wherever you'd like.
Merge visible. Crop image opaque - Resize to your liking.
Add your name and all copyright info.
Save as .png for a transparent background
and .jpg for a white background.
I hope you enjoyed this tut and it wasn't too confusing to you!!
Thanks :o)
**I also made this cluster frame from the kit...
Which you can download here.
And made another tag, below. Sooo many beautiful items
in this kit!! :o)


Beautiful!
ReplyDeletethank you so much for the verse word art and frame, when I get the kit I will be back to try the tut...thank you for sharing your creativity,
ReplyDeleteblessings!
thank you so much hunny xxx
ReplyDeleteThank you so much for sharing, I am a newbie to all of this, and these freebies really help me grow. Bless you this Christmas and all the very best for the New Year
ReplyDeleteKind regards
Helen from England