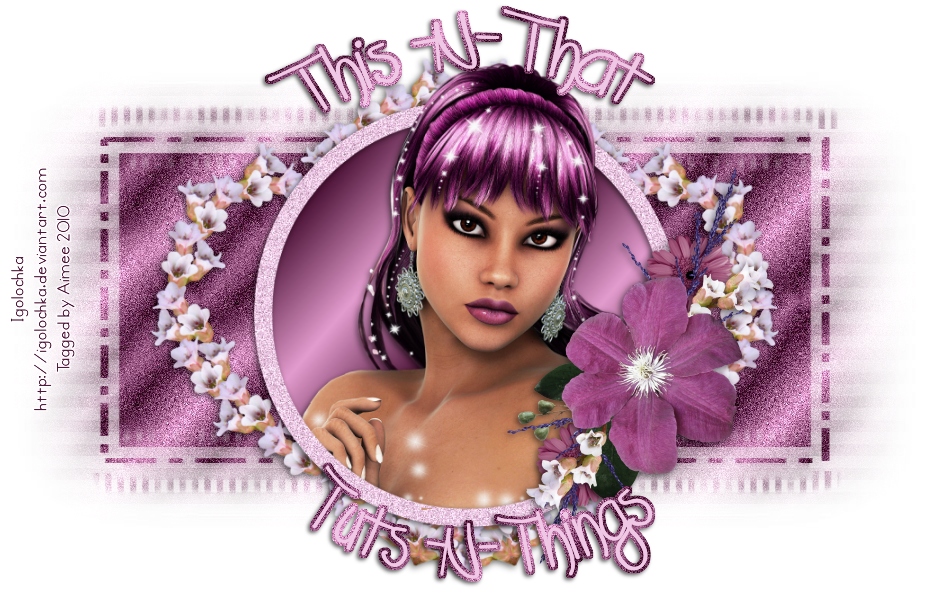
*What you will need*
PaintShopPro (any version should work)
PTU Kit "Eternally Yours (A Twilight Wedding)" by Stina
Font I used : Precious
Tubes © MediEvilCreations
Mask of choice
Eye Candy 3.1
**This tutorial assumes that you have working knowledge of Paint Shop Pro.**
**This tutorial was written by Aimee Pryor on July 28, 2010. Any similarity between
this tutorial and another is nothing but coincidence. You may link back to my tutorials, but do
not copy them and put them on your own group or site of any kind. If you'd like to share your creation, you may email them to me at acpryor@live.com and I will share them here :o) Thanks!**
Let's start by opening a new 600 x 600 pixel image.
Also open the tube you're using, along with the mask. Minimize
both for later use.
Open DBS_TulleFrame01 - Resize 75%
Copy and paste as a new layer. Using Eye Candy 3.1 - Glow with the
settings below:
I used the color #E7C58F
Open DBS_Flowers02 - Resize 50% - Copy and paste as new layer.
Arrange to the bottom of the frame and to the right just a little bit.
Look at my tag for placement if needed. Apply a drop shadow of 2, -2,
60, 8 Black. Remember this setting, we'll be using it throughout the
tutorial. Now let's take one of the other flowers, I chose DBS_Flower07.
Resize 10% - Copy and paste as new layer.
Duplicate 2 times, you should
Duplicate 2 times, you should
have 3 copies of the flowers. Arrange to your liking. Apply the drop
shadow we used before to each of the flowers.
Make your frame layer active, using your magic wand.. click inside
the frame. Selections - Modify - Expand by 2. Choose a paper from the
kit - Copy and paste as new layer. Selections - Invert - Delete.
Move the paper layer below the frame layer. Still selected - Copy
one of the sparkle images - Resize 50% and paste as a new layer.
Keeping selected - Open one of the gazeebos from the kit, resize 80%,
then again at 90% - Copy and paste as new layer - Arrange to your
liking - Delete. Select none. Duplicate the gazeebo layer - Adjust - Blur -
Gaussian 3 - Change the blend mode to overlay - Merge together the two gazeebo layers. Change the opacity to 70%.
Make your frame layer active - Open one of the tubes
Thanks for giving it a try :o)
from the kit, resize 85% - Copy and past as new layer.
The tube should be just above the frame layer and just below
The tube should be just above the frame layer and just below
the flower layer. Apply the same drop shadow we used before
to the tube layer.
Now I'll list the elements I used and how I resized them.
DBS_Heart01 - Resized 20% (I placed mine just below one of
the red flowers)
the red flowers)
DBS_Champagne_n_Roses01 - Resized 30% (I placed mine on the
left side)
left side)
DBS_WeddingRings - Resized 20% (Placed just above the
champagne n roses)
champagne n roses)
Apply the same drop shadow as before
to all the element layers.
X out the bottom raster layer - Merge visible.
Resize the merged layer to 500 x 500 pixels.
(Make sure Resize all layers is unchecked)
Un X the bottom layer - Select all - Choose a paper
from the kit - Copy and paste INTO selection. Select none.
Layer - New mask layer - Choose your mask.
Merge group - Make the
top layer active - Copy one of the word art images from the kit,
resize 40% - Copy and paste as a new layer. Select all - Float - Defloat -
New layer - Fill with a lighter color,
New layer - Fill with a lighter color,
I used the same pale yellow color that I used in the glow
around the frame - Select none. Move that fill layer just
below the word art. Apply drop shadow we used before.
Resize to your liking.
Add your name and copyright info.
Save as .png for a transparent background
and .jpg for a white background.
Hope you didn't get too lost in that tut!
*Here's another tag I made using the same kit... I barely scratched
the surface of this kit... the possibilities!!*


No comments:
Post a Comment
Hey there! Why don't you leave a little something before you go :o)