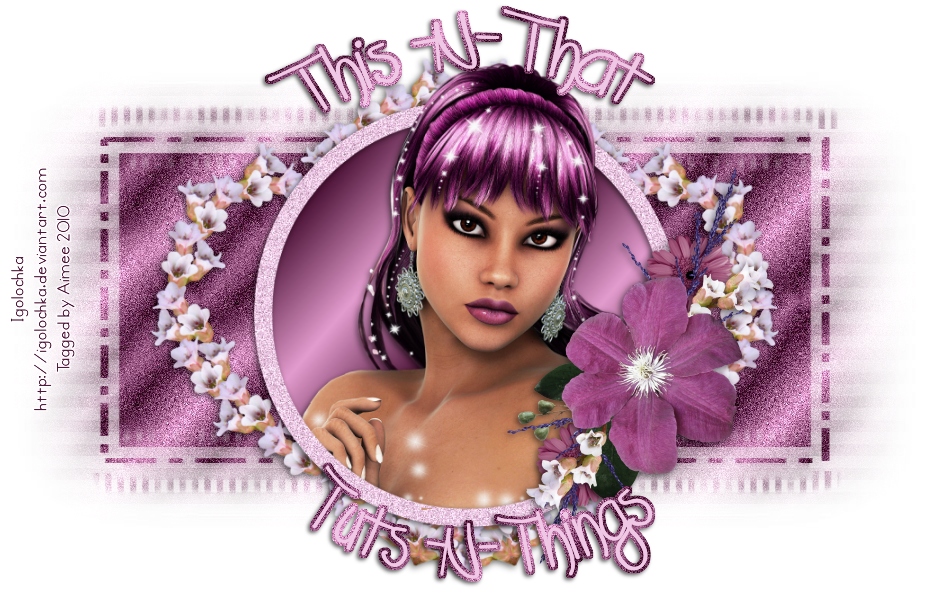
*What you will need*
PaintShopPro (any version should work)
FTU Kit "Rockin It" by Crys @ Creative Scraps By Crys
Font I used : Azariel Demo
Tube © Sinful Mindz
**This tutorial assumes that you have working knowledge of Paint Shop Pro.**
**This tutorial was written by Aimee Pryor on September 20, 2011.
Any similarity between this tutorial and another is nothing but
coincidence. You may link back to my tutorials, but do
not copy them and put them on your own group or site of any kind.
If you'd like to share your creation,
you may email them to me at tnt-aimee@live.com and I will
share them here :o) Thanks!**
Alrighty! Ready to do this?? Let's go! This tut is quite easy...
Download and open my cluster frame - Also make sure to
install your font. Open the kit, so you have easy access to it.
Using your freehand selection tool ( looks like a lasso) Feather set to 0 - Trace
around the frame. Don't get too close to the edge though! Choose a paper from
the kit - Resize 70% - Copy and paste as new layer. Move the paper
below the frame layer. Select none.
Choose a tube from the kit - Copy and paste as new layer.
She should be below the frame layer - It's ok, leave her there!!
Arrange the tube to your liking and then
Duplicate the tube and move the copy above the frame layer.
Hide the top tube layer for the moment. Let's go back to the
frame background layer - Select all - float - defloat - Invert -
Now make the bottom tube layer active and hit delete. Select none.
Apply a drop shadow of 2, -2, 80, 6 - Black.
Make the top tube layer active - using your eraser - erase
the bottom parts of her dress. Merge visible.
Open yellow bricks, resize 80% - copy & Paste as a new layer - arrange
to the top left of the tag - Open the blue brick - Resize 80% - Copy and paste
as a new layer - Arrange to the bottom right of tag. Hide all
other layers and merge visible. Duplicate this layer and flip - Merge
together - Apply drop shadow used earlier - Resize 85% (make sure
all layers is NOT checked). Move layer below the image if you
haven't already.
Unhide all other layers & Merge visible.
Change the canvas size to 700 x 700 Pixels.
Open one of the star mesh elements - Resize 85% - Copy and paste
as a new layer. Adjust Hue, Saturation & Lightness with
the settings below :
Add a new layer - Select all - Choose paper from the kit - Copy
and paste INTO selection - Select none. Apply a mask
of your choice. After applying mask - merge group.
Now let's open the "Rockin It" word art from the kit -
Resize 70% - Copy and paste as a new layer - Arrange
to your liking.... Apply same shadow as before.
Merge visible. Crop & Resize to your liking.
Add all copyright info and your name.
Save as .png for a transparent background and
.jpg for a white background.
DONE!!!
I hope you enjoyed this tut and it wasn't too confusing to you!!
Thanks :o)
****I also made a second frame using this kit... you're welcome
to download it, just please leave me a thank you!!****


No comments:
Post a Comment
Hey there! Why don't you leave a little something before you go :o)