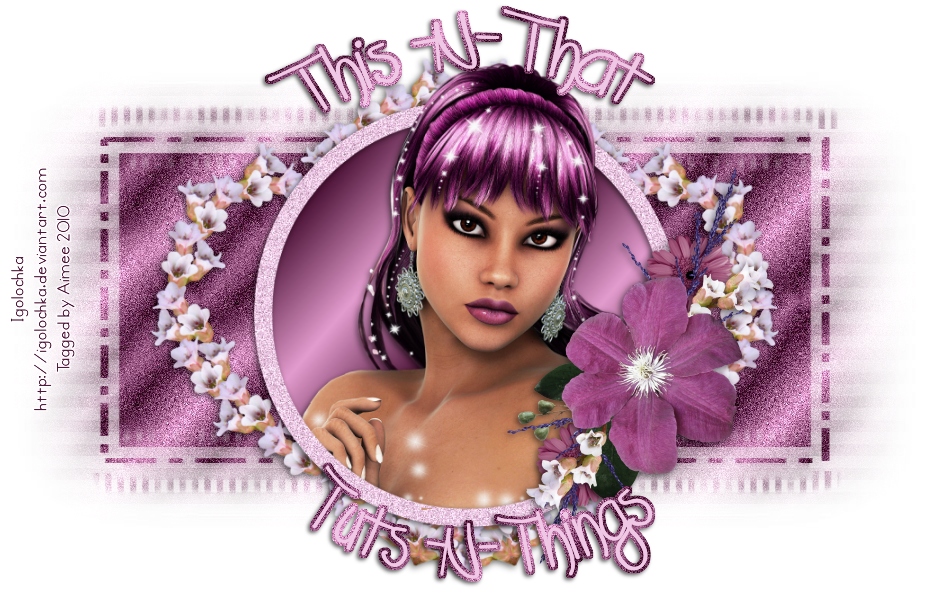
*What you will need*
PaintShopPro (any version should work)
PTU Kit "Days Gone By" by Crys @ Creative Scraps By Crys
Font I used : Quilline Script Thin
Tube © RJ @ The Poser Emporium
**This tutorial assumes that you have working knowledge of Paint Shop Pro.**
**This tutorial was written by Aimee Pryor on September 21, 2011.
Any similarity between this tutorial and another is nothing but
coincidence. You may link back to my tutorials, but do
not copy them and put them on your own group or site of any kind.
If you'd like to share your creation,
you may email them to me at tnt-aimee@live.com and
I will share them here :o) Thanks!**
Ready?? Ok. First... let's download and install the font.
Download My mask, frame, and your tube - Open them all
in PSP and minimize tube and mask for use later.
Working with the frame - Duplicate (shift D) and close out
the original. Using your magic wand (feather and tolerance
set to 0) Click inside the frame, you'll notice some smaller
parts aren't selected. (Make sure your magic wand is
set to Add/Shift) and click inside those parts as well.
Selections - Modify - Expand by 6.
Choose a paper from the kit and paste as new layer.
Selections - Invert - Delete.
Select none.
Now... you'll notice some smaller white parts,
Using your color dropper tool, choose a color
that best matches the spots you need to fill in.
Fill in using your paint brush.
(Make sure you're on the paper layer before
painting!)
Still on the paper layer - Select all - Float - Defloat - Invert.
Copy your tube (resize if needed)
Paste as new layer - Arrange to your liking.
Make sure this tube layer is below the frame layer.
Duplicate tube - Move copy above frame layer
and hide for now.
Back onto the bottom tube layer - Hit Delete.
Select none.
Unhide tube copy - Using eraser tool - Erase
the bottom parts of the tube until you see
the entire bottom part of the frame.
Add a drop shadow of 2, -2, 80, 8 - Black to frame layer.
Merge visible.
Now let's change our canvas size to 800 x 800 pixels
(This is so we have room to work with our mask)
Add a new layer, move to the bottom of tag -
Selections - Select all.
Choose another paper from kit and paste
INTO selection. Select none.
Go to Layers - New Mask Layer - From Image
(Source Luminance checked)
and choose Days Gone By Mask.
Apply - Merge group.
Open SP_Leaves from kit - Resize 70%
Copy and paste as new layer (make sure
they are above mask layer, but below image layer)
Place onto the right side of the tag - Duplicate -
Mirror. Merge visible.
Resize the image to your liking....add all
copyright info and name.
Save as .png for a transparent background or
.jpg for a white background.
ALL DONE!!
I hope you enjoyed this tut and it wasn't too confusing to you!!
Thanks :o)
I also made another Tag for Crys using the kit above....
and created another Cluster frame!!
Feel free to download the frames, I just ask that you leave a
Thank you!!
Download Frame 1


Muchísimas gracias!
ReplyDeleteMuchísimas gracias!
ReplyDelete