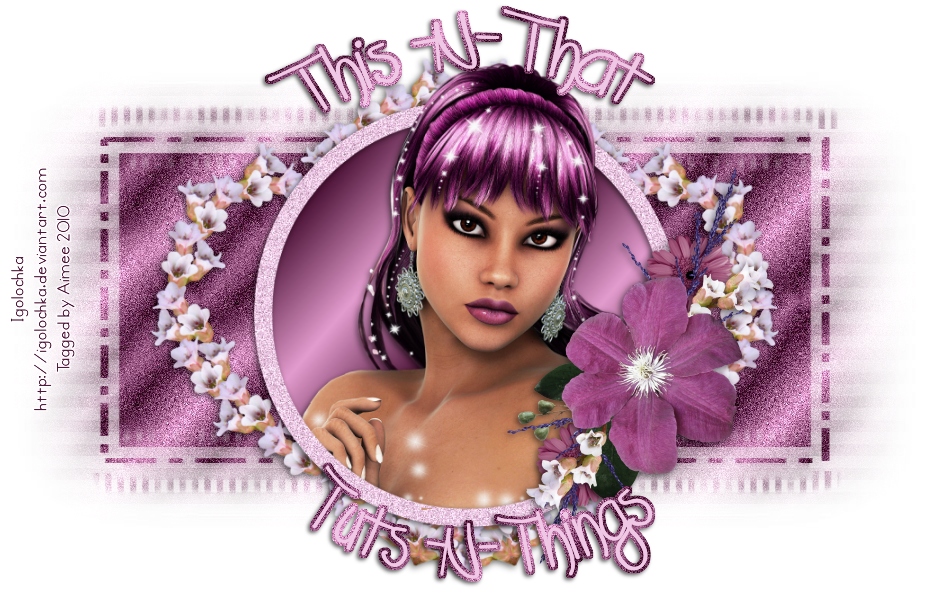
**What you'll need**
Paint shop pro (any version should work)
PTU kit "Fall-Ever Friends" by Heartfelt Perfections
WSL_Mask328 by Weescotslass
Tube (C) Igologchka
Font: SummerTime
**This tutorial assumes that you have working knowledge of Paint Shop Pro.**
**This tutorial was written by Aimee Pryor on September 1, 2010.
Any similarity between this tutorial and another is nothing but coincidence.
You may link back to my tutorials, but do not copy them and put them on your own
group or site of any kind. If you'd like to share your creation, you may email them
to me at tnt-aimee@live.com and I will share them here :o) Thanks!**
Open a new 600 x 600 image in your psp.
From the kit, open the lace frame - Resize by 65%
Copy and paste as new layer. Using your magic wand,
click inside the frame - Selections - Modify - Expand
by 4. Choose a paper from the kit, Resize 65% - Copy
and paste as new layer. Selections - Invert - Delete.
KEEP SELECTED!! Move the paper layer below the frame layer.
Now we're going to add our tube. If using the tube that I've
used, resize her by 85%. Copy and paste as new layer.
Arrange to your liking - Delete. Select none. Now make the lace
frame active and RE-Paste your tube. Line the two tube layers
up together, and using your eraser.... erase her shoulders, some
of her braids, a little of her neck. This gives the effect that
she's coming out of the frame. When you're satisfied, add a
drop shadow of 2, -2, 60, 8 - Black to the bottom tube layer.
Also to the frame layer. X out the bottom and merge the paper,
frame, and tube layers, visible.
Now for the fun part of adding all the elements!!
I'm going to list the elements I used, and how I resized them.
You can choose to make your tag the same way, or different...
You can choose to make your tag the same way, or different...
either way...it's entirely up to you!!
leaves2 - Resized 50% -- Duplicate - Mirror
flower - Resized 25%
daisy - Resized 25%
grass - Resized 30% - Duplicate and Rotate (copy) left 90 degrees.
bow- Resized 50%
I added the same drop shadow used before to each of the element layers.
Once satisfied with all your elements and their placement.... X
out your bottom layer (Unless you still have it X'd out)
Merge visible. Resize just the image layer to 500 x 500 pixels.
Now let's make that bottom layer active (un X it)
Select all - Choose a paper from the kit - Copy and Past INTO selection.
Select none.
Layers - New Mask Layer - From Image.
Scroll until you see WSL_Mask328. Apply and merge group.
Duplicate the mask layer - Merge down and resize 105%
Effects - Plugins - DSB Flux - Bright Noise.
With the settings below:

Now you can choose my wordart or your own.... If using mine,
resize the wordart by 60% - Copy and paste as new layer.
Apply a drop shadow of 2, -2, 50, 3 - Black.
That's it!!
Resize your image again to your liking, crop any opaque parts.
Add your name and copyright info. Save as .png for a transparent
background or .jpg for a white background.


No comments:
Post a Comment
Hey there! Why don't you leave a little something before you go :o)